WordPress manual installation
Tutorials • Applications | wordpress | installation | cpanelIntroducing a Manual WordPress Installation Process
by Mihai BobriucViews 804Updated now 1 yearPublished 13/07/2022
Introduction
- In this tutorial we are going to show you how to install the WordPress application manually.
Requirement
- Access to the cPanel account.
WordPress archive that we can download from the following page https://wordpress.org/download/ - The database, the database user and the password of the database.
Steps
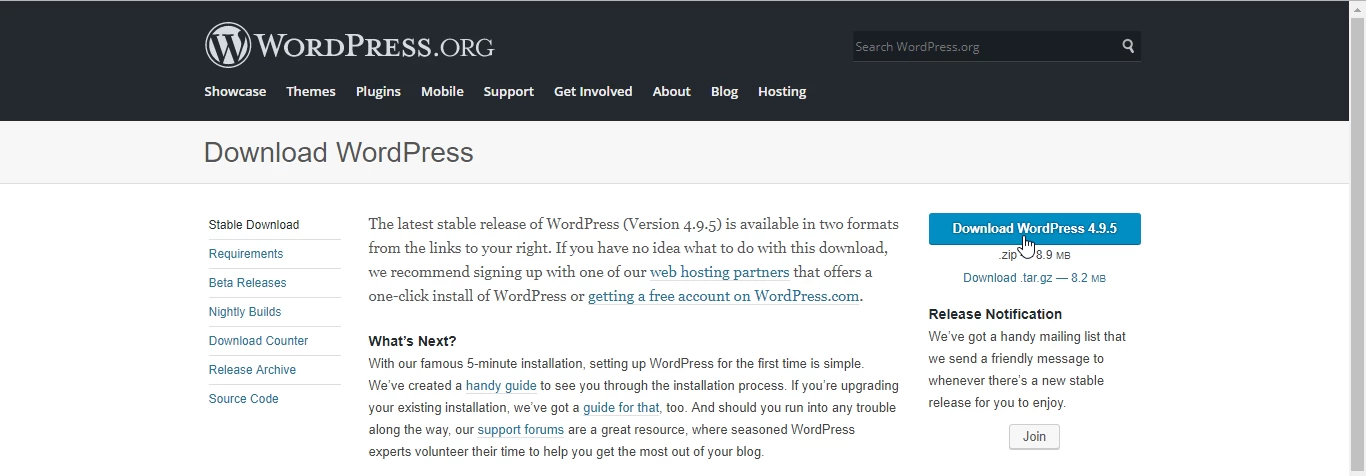
- We download the WordPress archive locally from the following page
https://wordpress.org/download/ by clicking on Download WordPress.
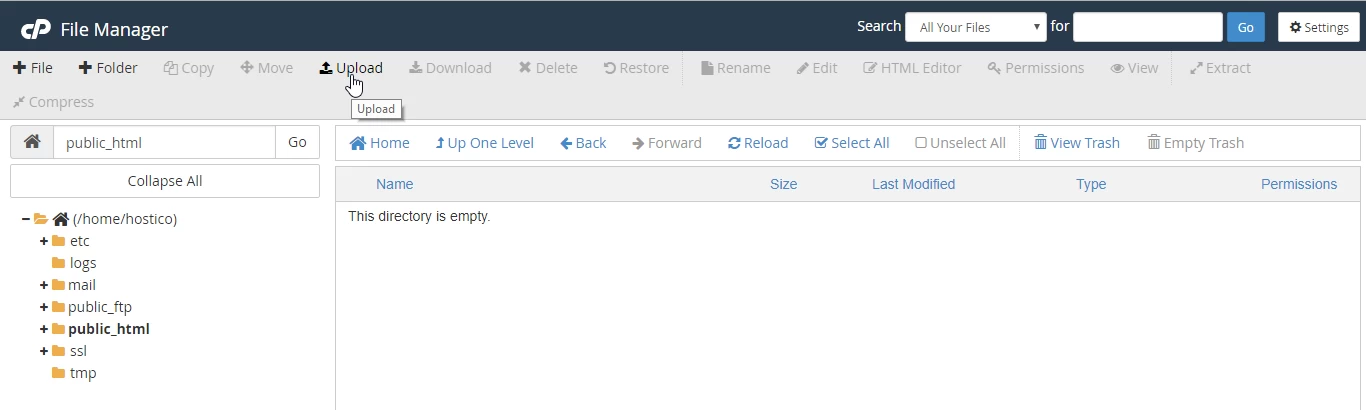
- Once we have downloaded the WordPress zip archive locally, we will log in to the cPanel account, we will go to the Files, File Manager section where we will upload the downloaded archive to the host.
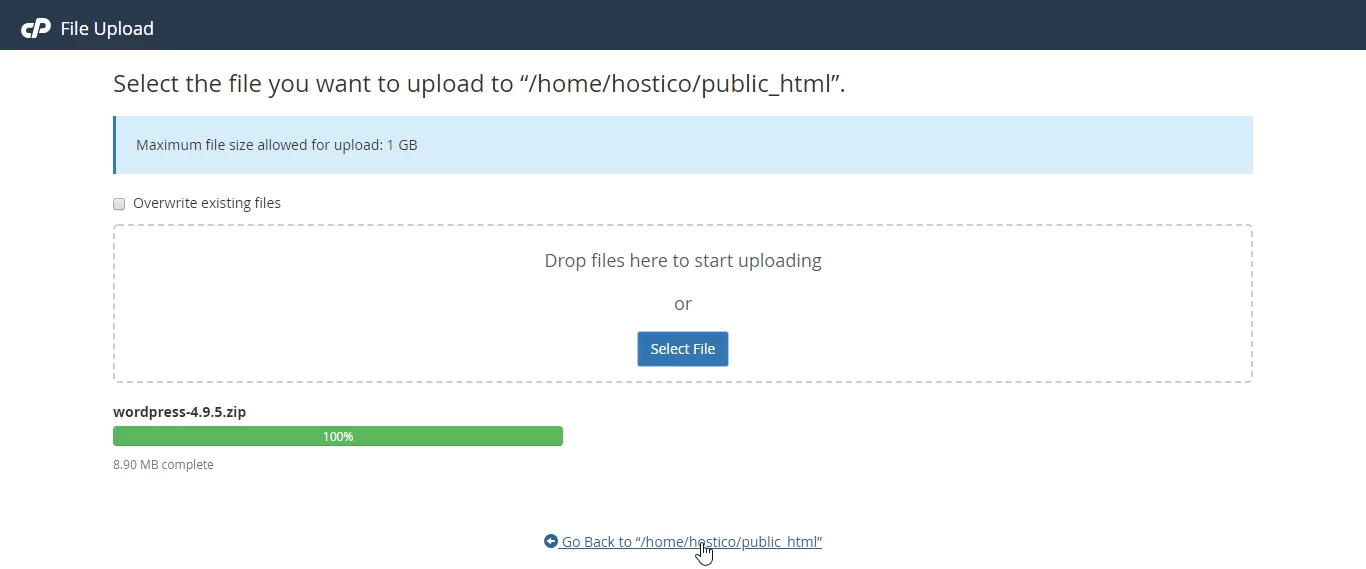
- We will click on Upload and upload the archive downloaded locally to the desired location, in our case in the public_html directory.
For addon domains or subdomains we will select the directory for the addon domain or subdomain.
- Once we have uploaded the archive we will return to the public_html directory.
- Here by clicking on the name of the archive we will select it and then extract the files (unzip).
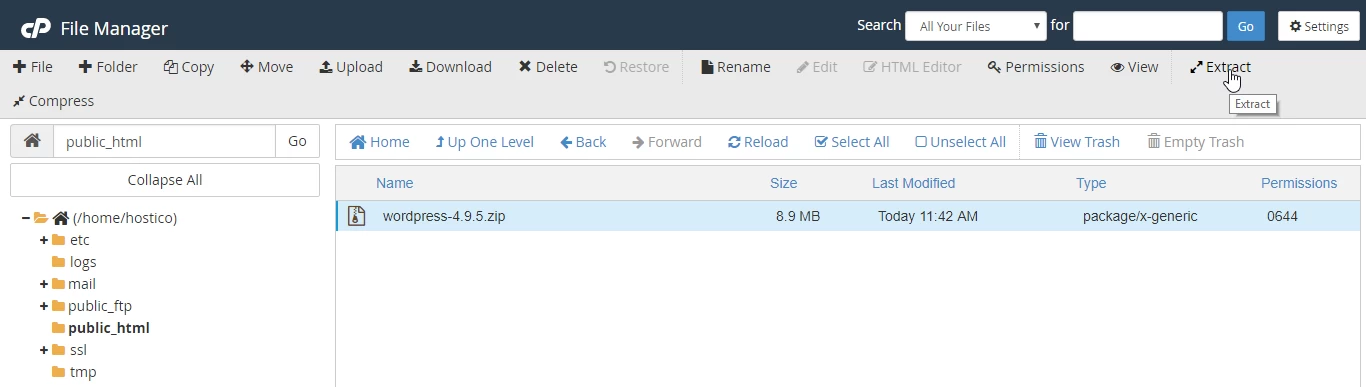
- We select the location where we are going to extract the files.

- Automatically the files are extracted to the wordpress directory, files that we will move to the public_html.

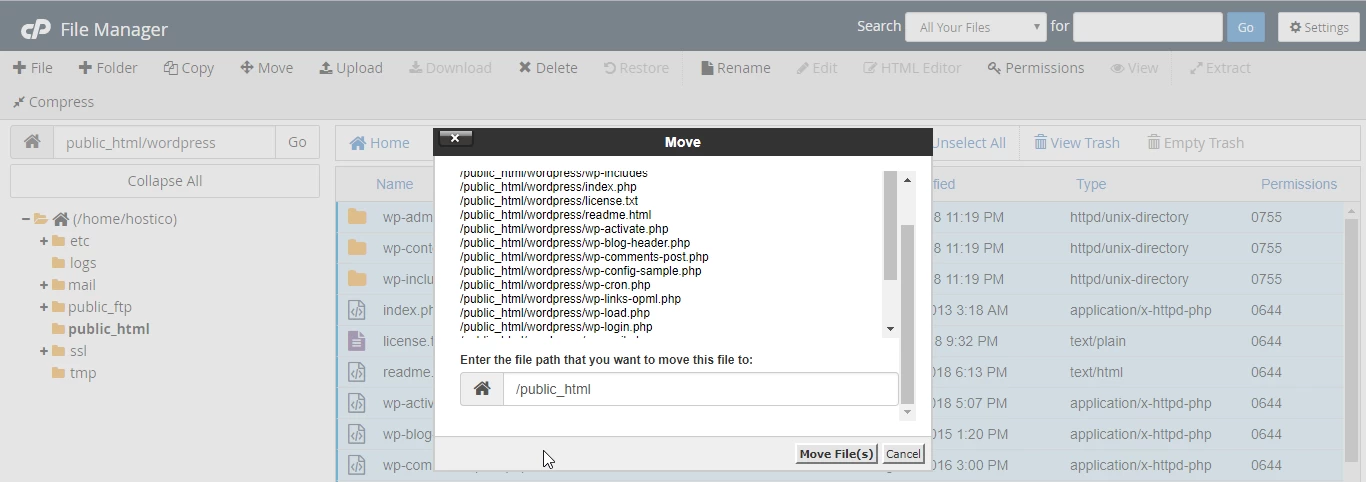
- to move the files we will open the wordpress directory, select all the files by clicking on Select All, and then click on the Move button and change the path /location where we want to move the files from /public_html/wordpress to /public_html to move the files.
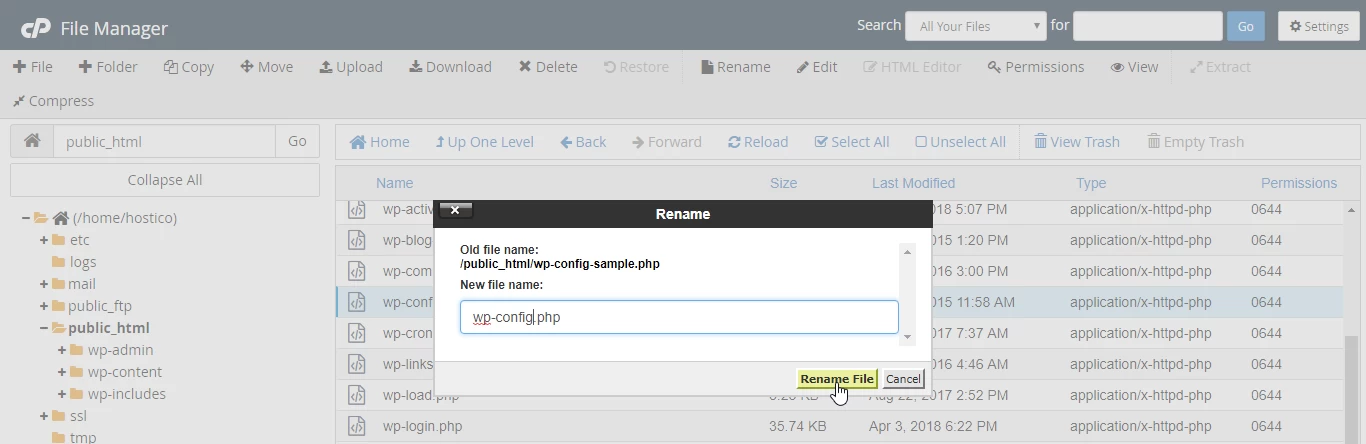
- Once we have moved the files to public_html we will have to rename the wp-config-sample file.php to wp-config.php.
Select the file wp-config-sample.php, click on the Button Edit, change its name from wp-config-sample.php to wp-config.php and then click on the button Rename File.
- Once we have renamed the configuration file we will have to edit the file and modify the following fields in the file in which we will add the database name, the database user and the password of the database:
// ** MySQL settings - You can get this info from your web host ** //
/** The name of the database for WordPress */
define('DB_NAME', 'database_name_here');
/** MySQL database username */
define('DB_USER', 'username_here');
/** MySQL database password */
define('DB_PASSWORD', 'password_here');
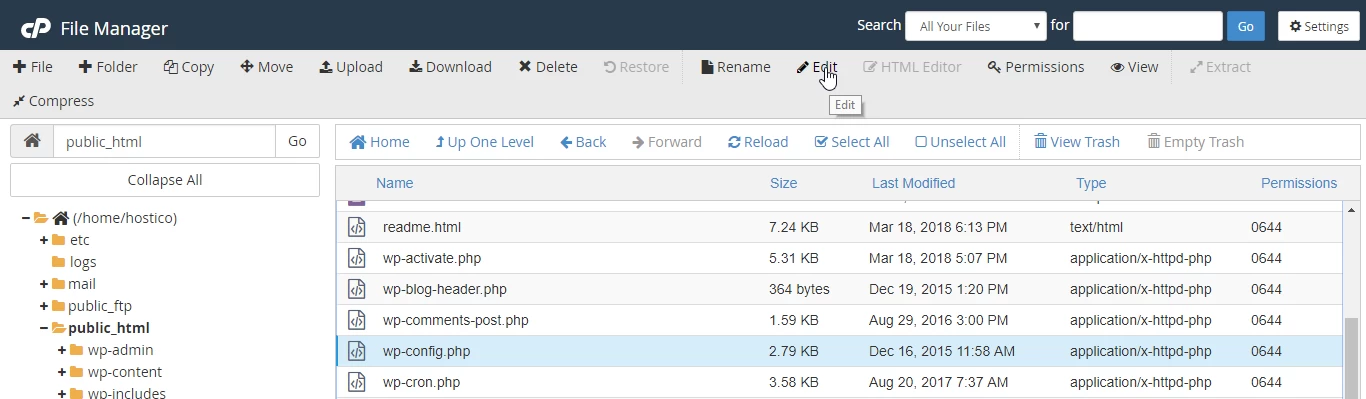
- To edit the file we will have to select it and then click on Edit
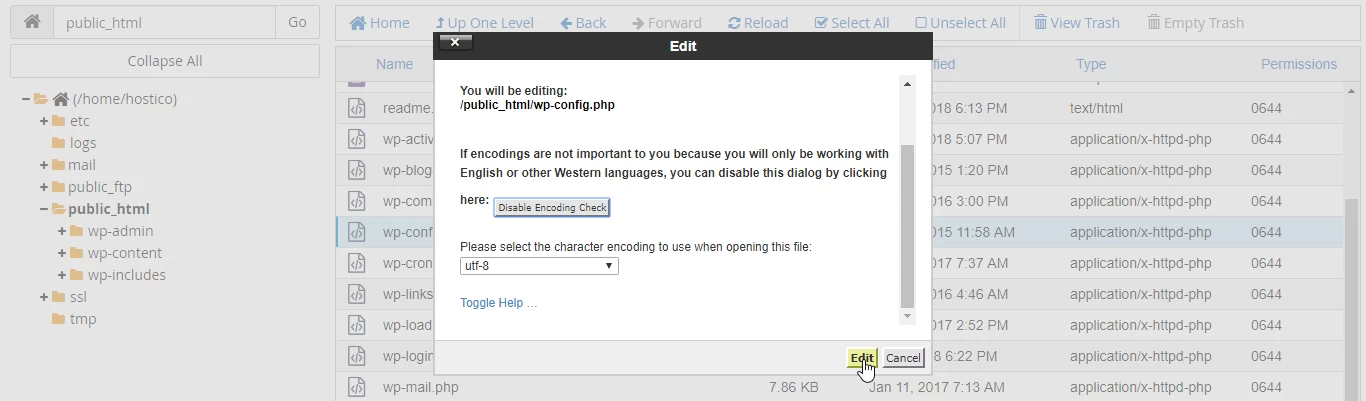
- In the new window we will click on Edit again without making any other changes in the current window.
- We replace the fields below as follows and without spaces between ' ' when we add the name of the database, the user and the password:
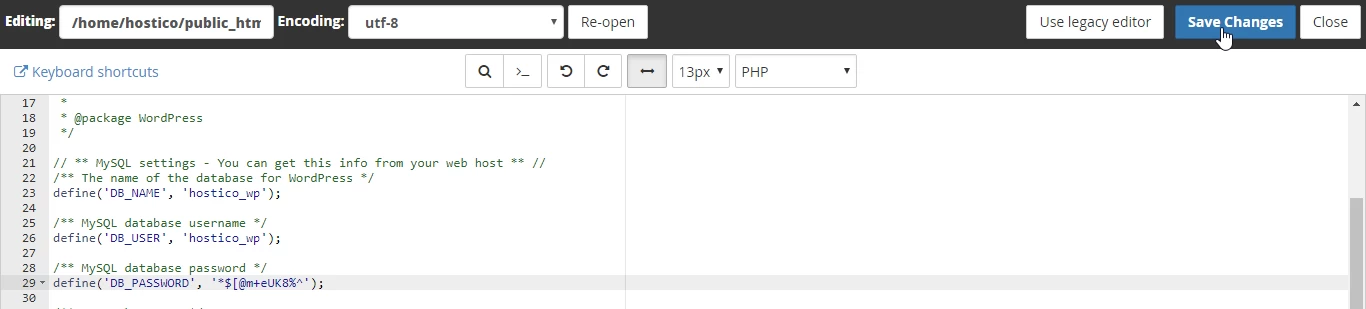
- Click on Save Changes to save your changes.
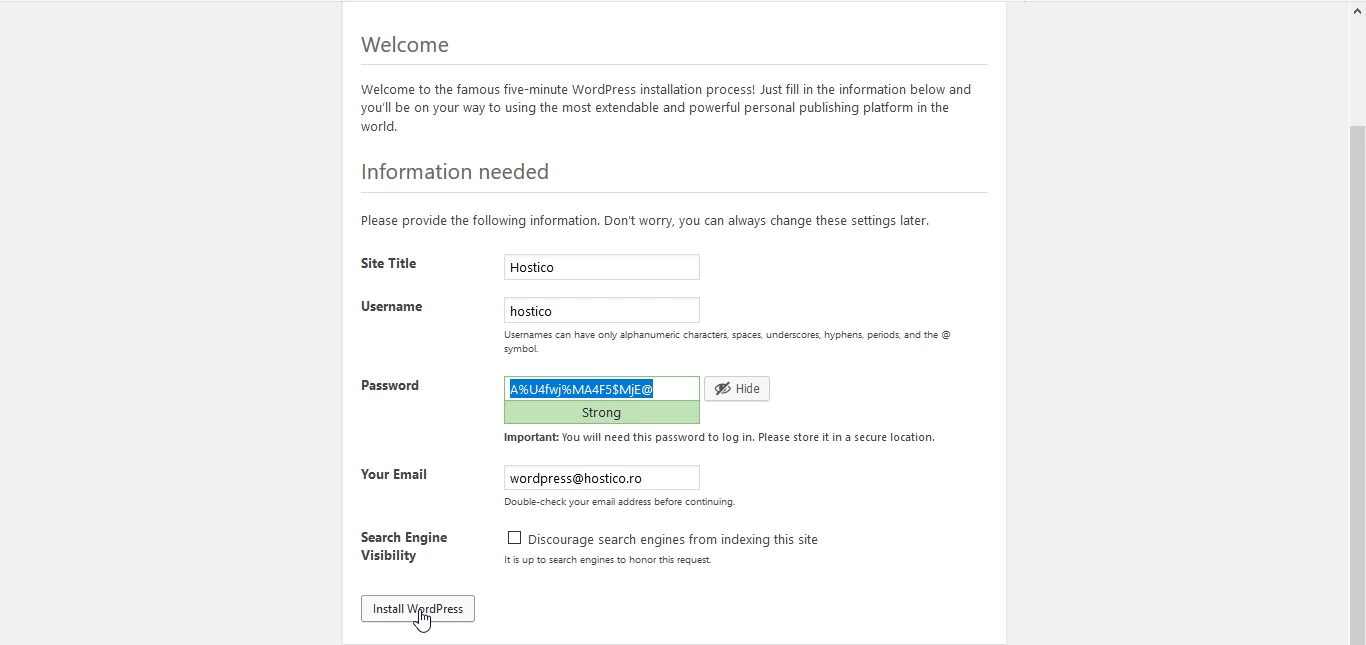
To continue installing WordPress we will access the hostico.ro in the browser and follow the steps to complete the installation.
We will select the desired language and go further by clicking on Continue.
In the following fields we will configure the user, password, email address for installing WordPress, and after checking all the information click on the Install WordPress button.
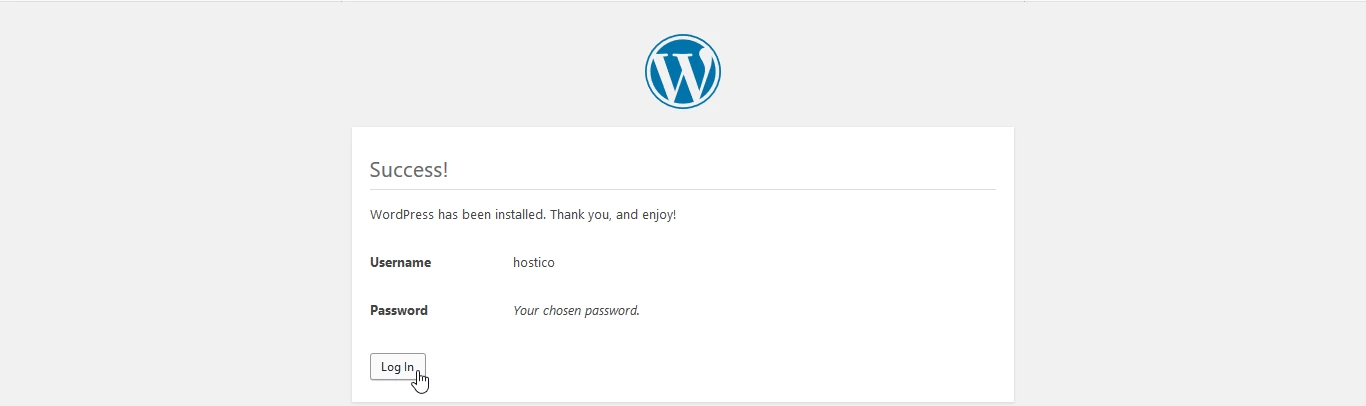
- In the next window we can see the message that confirms that the installation was successful, and by clicking on Log In we will be redirected to the login page in the WordPress administration panel.

Similar Articles
14
Creating a mailbox in cPanelTutorials • cPanel | email | cpanel | add
The cPanel panel allows the creation of an unlimited number of email boxes associated with hosted domains. This tutorial will explain the necessary steps to create and access an e-mail box.
by Mihai BobriucViews 2349Updated now 1 yearPublished 28/06/2017
5
Enabling Cloudflare services in cPanelTutorials • Cloudflare | cpanel | cloudflare | protection
This article will describe the steps required to enable Cloudflare services for domains hosted on your cPanel control panel
by Mihai BobriucViews 1513Updated now 11 monthsPublished 26/09/2017
1
Adding an MX record to the cPanel admin panel, redirecting your mail server to GoogleTutorials • Email | mx | mx records | mx registration | dns | email
How to add MX Records and forward mail to the Google mail server
by Mihai BobriucViews 1509Updated now 1 yearPublished 21/07/2017
1
Adding an addon domain in cPanelTutorials • cPanel | cpanel | domain | addon
The process of adding an addon domain in cPanel
by Ana RednicViews 1345Updated now 1 yearPublished 31/01/2018
1
Enable DNSSEC in ROTLDTutorials • Domains | dnssec | domain | rotld
This tutorial will describe the steps required to enable DNSSEC on a .ro domain in the ROTLD panel
by Ana RednicViews 1068Updated now 1 yearPublished 25/10/2018